Wiring a light switch in Australia can be quite an undertaking. It requires knowledge of the electrical wiring code and safety protocols to make sure your house is properly wired for electricity. If you’re just starting out with DIY home repairs, it’s important to remember that even small jobs require attention to detail and precision.
To begin, let’s take a look at some of the basics of electrical wiring in Australia. All homes must adhere to the current National Electrical Code (NEC), which sets standard safety rules for installing electrical components such as light switches. Most residential projects will also need permits from local building or planning departments before beginning any work on electrical systems.
When it comes to light switch wiring specifically, there are several different types available depending on what type of setup you have in mind. Understanding these various options helps ensure proper installation and maximum efficiency when setting up a new system or replacing existing ones. Now that we’ve covered some background information about light switch wiring in Australia, let’s move onto exploring the types of switches used most commonly down under!
Types Of Light Switches Used In Australia
When it comes to wiring a light switch, Australians have many options. From the traditional two-way switch that turns lights on and off in separate areas of your home to more modern devices like dimmers or motion sensors – there’s something for everyone!
The most common type of switch used in Australia is the two-way switch. This device allows you to control lighting from two different locations in your house, such as a hallway and bedroom. It works by having one switch at each location – when the switches are both flipped up, the lights will be on; when both switches are flipped down, the lights will turn off. This setup can also be used with ceiling fans if desired.
In addition to the standard two-way switch, other popular types include three-way switches (which allow for controlling lighting from three different points), occupancy sensors (which detect movement and automatically turn lights on/off accordingly) and dimmer switches (which allow you to adjust brightness). For those looking to replace an old light switch, it’s important to make sure you purchase one designed specifically for Australian electrical systems.
With so many choices available, selecting the right light switch doesn’t need to be a daunting task. Knowing what features you want and understanding which ones best fit your needs can help simplify things significantly!
How To Select The Right Light Switch
Now that you’ve chosen the type of switch for your home, it’s time to select the right one. Before doing so, there are a few things to consider such as size and wiring requirements. The most important factor is making sure the switch plate fits in place where the old one was removed. It’s also essential to check the wire colours on both switches match up – black wires should go together, white wires should be linked with each other too. For two-way switches, this means connecting them at either end of a run of cable – if they don’t line up correctly then your lights may not work properly!
When buying a new light switch, look out for details like voltage ratings and amperage specifications which can help ensure compatibility between devices. If unsure about any aspect of selecting or installing a new switch, it’s best to consult an electrician who can offer advice and assistance with safety measures during installation.
Once you have all the necessary components in hand, you’ll be ready to move onto wiring up your light switch!

Tool Requirements For The Wiring
Getting started on electrical work can be daunting, but with the right tools and equipment it doesn’t have to be! While wiring a light switch may sound complicated, all that’s needed are some basic safety precautions and an understanding of how switch assembly works. Having the correct tool kit for the job is essential – this should include items such as screwdrivers, wire strippers, circuit tester, gloves and safety glasses.
In addition to these basics you’ll also want to ensure you’re using insulated wires in the correct sizes for your new switch – make sure they’re rated for both voltage and amperage requirements before starting any work. Finally, a continuity tester will help confirm everything is connected properly once installation is complete. Once you’ve got all your supplies ready and double-checked everything is compatible, it’s time to move onto installing your light switch!
Step-By-Step Guide To Installing A Standard Light Switch
Installing a light switch is easy if you know the right steps. With just a few basic tools and safety precautions, it’s possible to wire your own switches in no time. Here’s how:
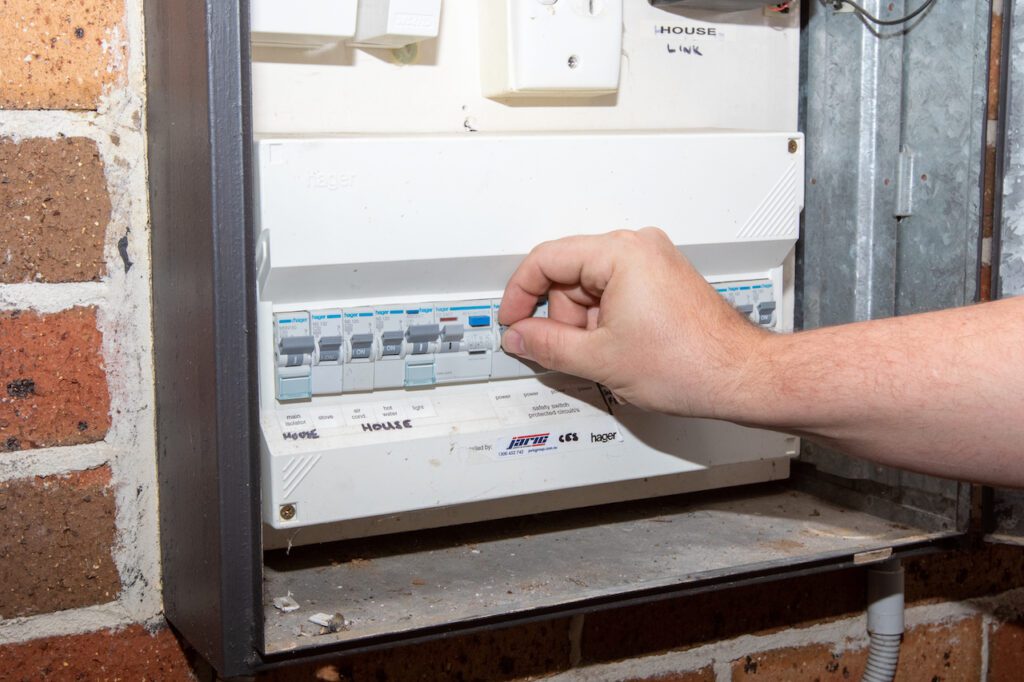
1) Turn off all power at the circuit breaker before beginning any wiring project.
2) Identify the live wires that will be connected to your light switch – use an electrical tester to check these as they should not be insulated or bare.
3) Cut two lengths of cable for each connection point on the switch, then strip away enough insulation from each end so that about 10mm of exposed copper remains.
4) Using loop-in wiring (sometimes called ‘loop at the switch’), connect one length of cable to each terminal on the switch – make sure there is no overlap between cables when doing this!
Finally, once everything is wired correctly and securely, reattach the faceplate and turn on the power again to test out your new light switch. Congratulations – you’ve just successfully wired up a standard single pole switch!
Step-By-Step Guide To Installing A Two-Way Switch
Installing a two-way light switch is not as hard as you might think. With just a few tools, some patience and the right wiring diagram, you can wire up your own switches in no time at all! Here’s what you need to know:
Firstly, it’s important to remember that safety comes first – so before starting any project make sure that power is switched off at the circuit breaker. Once you’re ready to begin, use an electrical tester to identify which live wires will be connected to your two way light switch. Then cut two lengths of cable for each connection point on the switch and strip away enough insulation from each end so that about 10mm of exposed copper remains. The next step is where things get tricky – you’ll need to wire up your two way light switch using a specific wiring diagram. This may require looping cables through one terminal and then onto another. If this sounds intimidating don’t worry – take it slow and refer back to the wiring diagram if needed until everything looks correct and secure.
Once everything is wired correctly, reattach the faceplate and turn on the power again to test out your new light switch. You’ve now successfully installed a two-way light switch – great job! Now let’s move onto installing dimmer switches…
Step-By-Step Guide To Installing A Dimmer Switch
Installing dimmer switches is a great way to upgrade your home lighting system and give you more control over the amount of light in each room. But before you start, it’s important to make sure that all power is switched off at the circuit breaker first for safety reasons. With this in mind, here’s what you need to know about wiring up a basic dimmer switch:
Start by removing any old light switch plates from the wall and disconnecting the existing wires – if necessary use wire cutters to snip them away.
- Check that there are two terminals on your new switch as these will be used for connecting the live wires – one should be marked with an ‘L’ or ‘Live’ label while the other is usually marked with a neutral symbol.
- Next, connect both wires into their corresponding terminal points and then wrap around tightly with electrical tape – doing this will ensure no exposed copper remains which could cause short circuits when wiring light switches.
- Finally, attach the faceplate back onto its original position and turn on power again to test out your upgraded dimmer switch!
With just a few steps, you’re well on your way toward having complete control over every aspect of lighting within your home. In addition to providing greater flexibility, installing dimmers can also help save energy costs too so why not give it a try today? Now let’s look at some tips for easier installation and troubleshooting…
Our Tips For Easier Installation And Troubleshooting
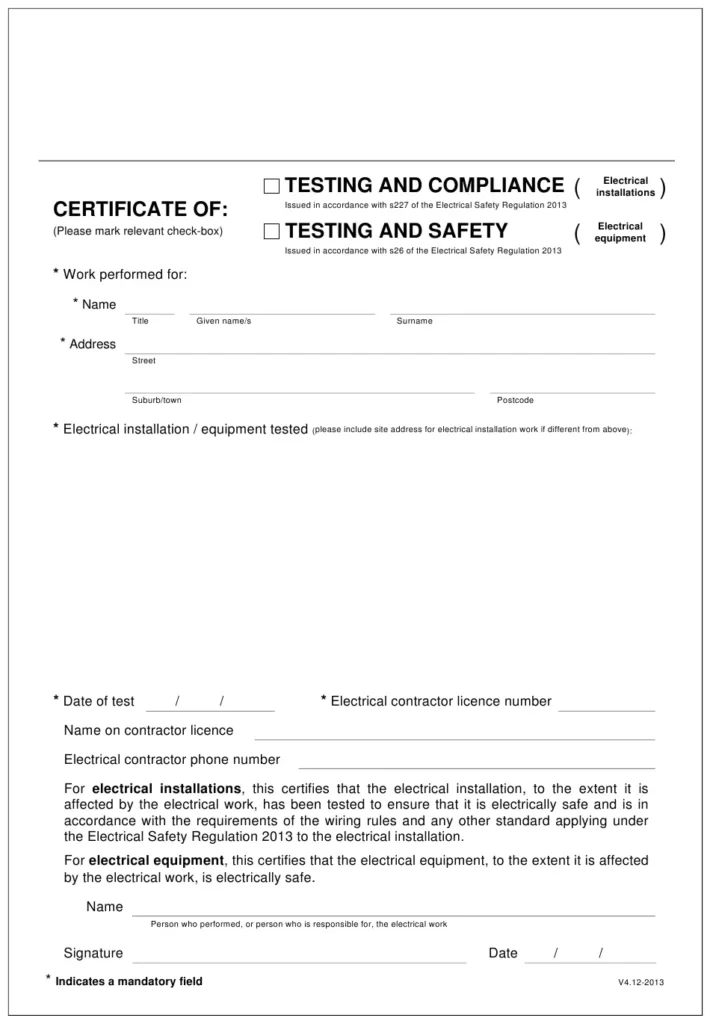
When it comes to wiring a light switch, safety should always come first. If you’re not confident in your DIY skills or want peace of mind that the job is done right, then it’s best to call on the services of a licensed electrician. They will be able to undertake all electrical work without worry and can provide an electrical safety certificate when they are finished too – something which is essential if you ever plan on selling your home down the line!
However, there are still some simple tips that can help make installation easier for those keen do-it-yourselfers out there. For instance, double check every connection before turning the power back on as this will help reduce any risk of a short circuit occurring. Additionally, keep an eye out for any exposed wires and ensure these are either taped up securely or replaced with new ones altogether. Finally, consider investing in quality tools such as wire strippers so that each crimp joint is neat and secure – this will also save time in future installations too!
With just a few basic precautions taken care of prior to starting any project involving electricity, you’ll be well on your way toward having complete control over how much light gets into each room of your house. Now let’s take a look at some key safety considerations when working with electrical wiring…
Safety Precautions When Working With Electrical Wiring
It’s essential to take safety seriously when it comes to any wiring project. From electric shock risks, to the risk of death or serious injury due to electrocution, there are a number of hazards that can occur if you don’t follow proper wiring procedures and guidelines. As such, all electrical work must be carried out in accordance with your local state laws as per the Occupational Licensing Act.
When working on light switches or other devices connected to mains electricity, make sure you turn off the power at the circuit breaker before attempting any repairs or installations. It is also highly recommended that you use rubber gloves and insulated tools whenever possible – these will help reduce the risk of an electric shock occurring. Avoiding metal ladders too is another good idea for keeping safe during this type of job!
Finally, always ensure you have access to appropriate fire extinguishers and first aid kits in case something does go wrong. Even though DIY projects may seem easier than calling on professional services, nothing should ever come before taking basic precautions for yourself and others around you. With just a few precautionary steps taken care of beforehand, even novice do-it-yourselfers can feel confident enough to start working around their home safely.
When To Call An Electrician To Finish Off The Project
If you’re not feeling confident about your DIY electrical skills, or if the safety concerns are a bit too much for you to handle, it may be best to call on professional electrical services. While there can be an added cost associated with hiring electricians and other experts in this field, they come with certain guarantees that make up for their fees.
For one thing, these professionals have comprehensive experience in dealing with all types of wiring projects including light switch installations. They know the local regulations and standards around electrical works like the back of their hand – so you don’t need to worry about following them correctly! Plus, many will offer warranties for any completed work – giving you assurance that everything is done safely and properly.
Professional electrical installers also often use better quality materials than what might otherwise be available at a hardware store. This ensures that the installation lasts longer and is less susceptible to potential issues down the line. So while doing-it-yourself can seem more economical initially, calling on expert help could save you time and money in the long run – making it well worth considering as an option.
Regulations Governing Electrical Work In Australia
When it comes to performing electrical work in Australia, there are strict rules and regulations governing the installation of light switches. These laws play a vital role in ensuring that your home is safe from potential hazards such as fire or electric shocks. In order to comply with these regulations, all light switch installations must include a neutral wire, a circuit breaker, and insulation around live parts.
In addition to ensuring safety, these regulations also help protect property owners from costly damage due to faulty wiring. According to statistics released by the Electrical Safety Office, more than 1 million homes across Australia have unsafe wiring – resulting in over $20 million dollars worth of repairs each year! This serves as an important reminder of why following proper protocols when rewiring a light switch is so essential.
Knowing which components you need for any given job can be tricky – but luckily there are plenty of resources available for DIYers who want to make sure they’re using quality materials for their projects. From online tutorials to books written specifically on the subject matter, these sources provide invaluable information regarding product selection and installation methods that will keep your home secure while also keeping costs down!
Choosing Quality Components For Light Switches
When it comes to wiring light switches, quality components are essential. Choosing the right parts can mean the difference between a safe and functional installation or one that could lead to an electrical disaster! The most important component of any switch is the neutral wire – without this, electricity will not be able to flow properly through your home’s lighting system. In addition, depending on where you plan to install your light switch, you may also need two single core wires for connecting the main power source.
It’s important to make sure that all of these components are up-to-date and meet local safety standards before beginning work. Look out for signs of wear such as frayed wiring or loose connections in any part of the circuit – if anything looks like it needs replacing then don’t hesitate to take action! Be sure to use insulated tools when working with live wires, and never attempt to complete complicated installations unless you have professional experience.
Quality materials are only half the battle; even if you’ve opted for top notch products and followed instructions precisely, there’s still no guarantee that your installation will last forever. To ensure maximum longevity from your new or upgraded light switch setup, regular maintenance is key! This includes checking all wiring periodically for signs of damage, as well as making sure all fixtures remain secure at all times. With proper care and attention, your home’s lighting system should continue performing reliably for years to come.
Maintaining & Upgrading Your Home’s Lighting System
Having the right components and a reliable wiring system in place is an important first step when it comes to maintaining your home’s lighting system. However, even with these measures taken care of, there are still other things that you can do to ensure maximum longevity from your lights. Regular maintenance checks will help keep your switches running smoothly for years to come – if something looks like it needs replacing then don’t hesitate to take action!
When you need to change a light switch or make any kind of repairs, one method that’s often used is the ‘Loop at the Light’ technique. This involves disconnecting all power sources before beginning work, and connecting them again once finished. It might seem like a lot of effort but looping ensures that no live wires are exposed while work takes place – meaning less chance of electrical accidents occurring during installation or repair processes.
Finally, investing in energy efficient products such as LED bulbs and motion sensors can also have long term benefits for your home’s lighting system. LEDs use around 85% less electricity than traditional incandescent bulbs, making them far more cost-effective over time – plus they last up to 25 times longer so you won’t have to worry about changing them nearly as frequently either! Motion sensors are great too; not only do they save energy by switching off after periods of inactivity but they also offer improved security for dark areas outside your home.
In short, taking the necessary steps now means you’ll be able to enjoy safe and reliable illumination throughout your property for many years down the line.
Frequently Asked Questions
What Type Of Switch Should I Use For Outdoor Lighting?
When it comes to outdoor lighting, there are so many options available that the decisions can be overwhelming. From solar-powered spotlights and string lights to low voltage lighting systems, understanding which switch is right for your set up will make all the difference in safety and performance. Here’s a breakdown of some of the most popular types of switches you may use for outdoor lighting:
- Mechanical Switches – These manual light switches come with two states: on or off. They’re simple, easy to install, affordable and reliable if well maintained. You’ll find them widely used in decks, patios, terraces and garden areas.
- Programmable Timers – A programmable timer allows you to preset times when your lights will turn on or off automatically. It ensures energy efficiency by only working at pre-determined moments during the day or night. As an added bonus, they also provide greater security as people won’t know exactly when your lights are active!
- Motion Sensors – This type of switch senses movement within its range and turns on automatically when triggered by something moving past it. Perfect for pathways, driveways, garages…you name it! Not only do they save electricity but they also offer extra convenience since there’s no need to manually turn them on/off every time you enter or leave an area illuminated by motion sensor lights.
No matter what kind of outdoor lighting system you choose, selecting the appropriate switch plays an important role in how efficient it works — not just from an electrical perspective but also aesthetically speaking too! When making your choice think about things such as ease-of-use (how often do you expect yourself needing to operate this switch?) cost effectiveness (do I want a one-time investment or something more expensive?) and style (which type best fits my current décor?). The answers should help guide you towards choosing the perfect switch for your specific needs.
Is There A Difference Between Two-Way And Three-Way Switches?
Have you ever wondered what the difference between two-way and three-way switches is? It’s okay if you’re not sure, because both types of switch are used in a wide range of applications. In this article, I’m going to explain the differences between them and how they work.
Two-way switches have two different positions – one turns on or off an electrical circuit while the other does nothing at all. They can be used to control lights from multiple locations, such as when turning a light on and off with two separate switches in different rooms. A three-way switch has three positions instead of just two; it works by having one position turn on an electrical circuit while another cuts power off completely. This type of switch is often installed in places where more than one person needs access to controlling the lights, such as staircases or hallways.
The biggest difference between these two types of switch lies in their wiring configurations. Two-way switching requires only two wires for installation whereas three-way switching requires either four or five depending on the model. With three-way wiring, each wire connects differently compared to two-way wiring which makes it slightly more complicated for installation purposes but also means that even greater control over your lighting system can be achieved.
No matter which type of switch you decide to use, always make sure that it is compatible with your existing lighting setup before attempting any installations yourself and follow proper safety guidelines throughout the process. Although understanding the differences between these switches might seem daunting now, after some practice you’ll find yourself becoming quite proficient!
Do I Need A Permit To Install A Light Switch?
Installing a light switch is an essential part of any home wiring project. But before you start, it’s important to ask: do I need a permit?
The answer depends on your location. In Australia, most electrical work requires permission from the local council and must be carried out by a licensed electrician or someone with their appropriate qualifications. This means that if you’re installing something as simple as a light switch, whether two-way or three-way, then chances are you will need some kind of permission first.
However, there may also be exceptions depending on the size and scope of the job in question. For example, minor alterations to existing wiring might not require authorization so long as they meet safety regulations and comply with Australian standards for electricity installation. Ultimately though it pays to check with your local authorities just to make sure – no one wants unnecessary fines!
So when tackling any home improvement projects involving electricity, always keep this question in mind: do I need a permit? With proper planning and research, you can ensure your wiring projects go smoothly without running into any unexpected problems along the way.
Are There Any Special Safety Considerations When Wiring Light Switches?
When wiring light switches, there are a few key safety considerations to keep in mind. These include:
- Ensuring the correct wires are connected for your local area – Australia has different regulations and standards than other countries;
- Checking that all electrical connections are secure and insulated properly; and
- Making sure you know how to handle any broken or damaged wiring safely.
It’s important not just to be aware of these safety considerations, but also have an understanding of why they’re necessary. This is where knowledge of Australian wiring regulations comes into play. All electricians must abide by certain rules so that everyone remains safe when dealing with electricity – this includes both professional electricians as well as DIY enthusiasts who want to try their hand at basic home repairs like installing a new light switch.
As part of ensuring your own safety while tackling such tasks, it’s essential to understand exactly what parts need to go where and which wire should connect with which terminal on the device being installed. It’s also important to familiarise yourself with the right tools and equipment needed for the job ahead of time – having everything ready beforehand can save valuable time during installation and reduce risk of injury.
By taking some time before beginning work to learn about the specific regulations governing your region, researching best practices online, gathering appropriate tools and materials, and double checking all steps along the way, you’ll set yourself up for success when handling electrical jobs around the house.
Are There Any Special Tools Needed For Light Switch Installation?
Installing a light switch is an important job, and it’s essential to make sure you have the right tools for the job. Whether you’re working on a renovation or new construction project, having the correct equipment can mean the difference between success and failure.
Take my friend James for example; he was in the process of renovating his house when he decided to tackle wiring up a new light switch himself. Fortunately, as he had done some electrical work before, he already owned most of the necessary tools: wire strippers, screwdrivers, voltage tester etc. However, what he didn’t realise until after starting the job was that there are several specialised tools which could make life much easier.
For instance, if you’re installing a dimmer switch instead of a standard one then you’ll need something called ‘Dimmer Switch Installation Kit’. This tool allows you to quickly connect multiple wires together with no soldering required – perfect for those who aren’t very experienced at electrical wiring! Additionally, insulated pliers can come in handy when dealing with live wires (which should always be handled carefully). They help protect against electric shocks during installation – safety first!
Having these specialist items in your arsenal will ensure that any wiring task runs more smoothly and efficiently. So whether it’s fitting a simple single-pole switch or setting up complex lighting systems such as LED strip lights around your home – it pays to invest in quality tools that make even difficult jobs simpler.
Wrapping Up Our Guide To A Complete Light Switch Installation
It’s important to remember that wiring a light switch can be dangerous if done incorrectly, so it’s best to contact a professional electrician for the job. It may seem daunting, but with the right information and tools you’ll soon have your lights up and running in no time!
Did you know that over 1 million Australians use electrical safety switches on their power boards every day? This helps protect them from electrocution or electrical fires by automatically turning off when an overload of electricity is detected. Installing one in addition to your new light switch will provide extra protection against any potential hazards.
So there you have it – all the information necessary to safely wire a light switch in Australia. With this knowledge, you’re now equipped to start wiring up those beautiful outdoor lights of yours – just make sure you take all necessary precautions before doing so!