Replacing the rubber seal at the back of a toilet is an essential part of plumbing maintenance for any homeowner. A leaky or faulty seal can cause water to escape from the tank, leading to potential damage and costly repairs.
This article will provide detailed instructions for replacing a worn-out rubber seal with ease and efficiency. Plumbing experts recommend that homeowners replace their seals every two years in order to ensure proper functioning and reduce long-term costs associated with repair work.
By following these step-by-step instructions, readers will gain a better understanding of how to safely remove and install a new rubber seal so that they can take control over their own plumbing needs.
Identifying The Problem
A leak from the toilet seal can be a vexing issue that needs to be addressed. It is important for any homeowner or plumber who encounters this problem to identify what type of rubber toilet seal they have in order to properly diagnose and repair it.
The most common types are located between the base of the toilet tank and where it connects with the flush valve, which helps maintain water pressure when flushing the toilet. To locate the rubber seal, look carefully at its connection points on both sides of the toilet tank.
If there is damage or wear-and-tear present, then you may need to replace it. Installing a new rubber seal requires careful precision and accuracy so that proper installation can take place without further complications.
A professional plumber should always be consulted if replacing your own rubber seal is not an option due to safety concerns or lack of experience in plumbing repairs. It is essential to correctly assess whether or not replacement of a worn out rubber seal is necessary before attempting any repair work on it.
Once this determination has been made, one can begin locating the necessary parts and start installing them accordingly in order to ensure no further issues arise as a result of improper handling or installation techniques.
Locating The Rubber Seal
Locating the Rubber Seal is an essential step in replacing it.
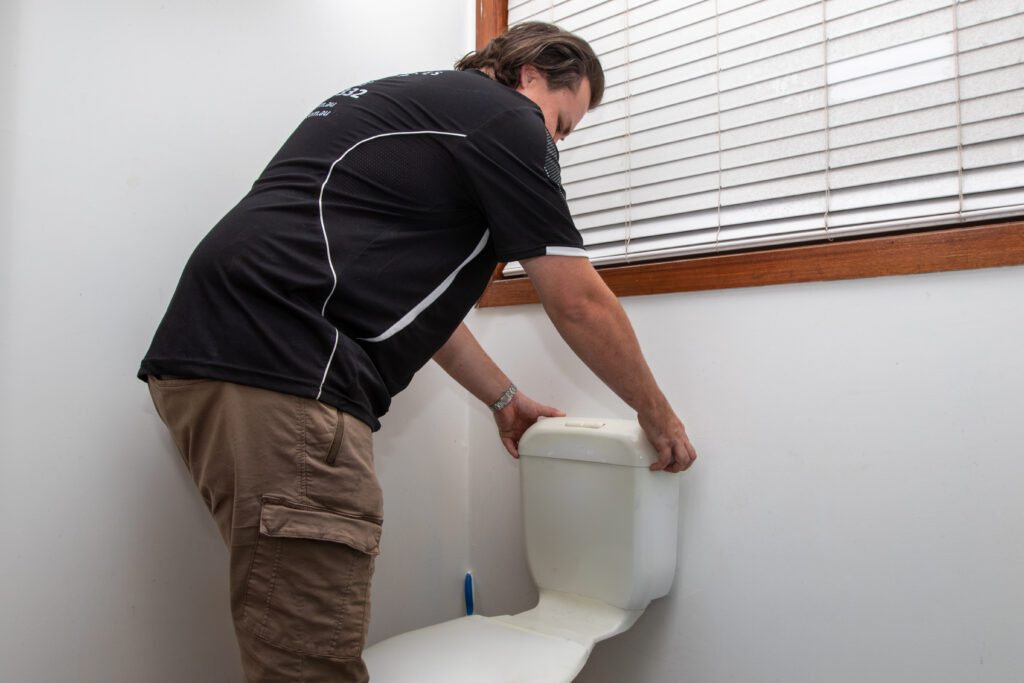
The first step involves removing the tank and toilet from the base of the bowl. This can be done by unscrewing all bolts that hold them together, then lifting them off separately.
Once removed, take a look around the base of the bowl for any signs of damage to the old wax seal or cracks in its surface. If there are none, then you will need to break the seal before proceeding with removal.
Once broken, you can use a putty knife or flat head screwdriver to separate it from the surface and remove it completely.
Before buying a replacement, measure its diameter to ensure that you purchase one of appropriate size for your toilet model.
From here, you can proceed with installing your new seal in place using plumber’s putty as instructed on most product packaging instructions.
Make sure that once secured tightly against the bowl’s bottom edges and sides, there is no water leakage when refilling the tank after testing it out briefly.
With careful attention paid throughout each step of this process, you should have successfully replaced your toilet’s rubber seal without difficulty! Now equipped with knowledge about how to replace it yourself next time, you may never have to call a professional for help again!

Tools Needed
Replacing the rubber seal at the back of a toilet can be tricky, yet it is vital for preventing water from leaking out onto the floor. To complete this task, having the right tools on hand is essential to getting the job done quickly and efficiently.
From pliers and adjustable wrenches to towels and wax rings, here are four items that should always be kept ready when tackling fixing a leaking toilet:
- Pliers – Used for disconnecting or reconnecting any fitting that connects to a toilet cistern.
- Towel – Essential for wiping down and drying off any area before beginning work in order to protect surfaces.
- Wax Ring – A must-have item used as gaskets between the bottom of your toilet bowl and the flange underneath it; helps ensure a watertight seal so no leaks occur after installation.
- Screwdriver – An important tool needed for adjusting screws on different parts of toilets, such as those securing the tank lid or seat bolts.
Having these materials close by will make replacing a rubber seal much easier because you won’t have to stop mid-task in search of something necessary – allowing you to take care of business without delay and get back to enjoying life without worry about water damage due to an old seal not doing its job properly anymore!
Removal Of The Old Seal
Removal of the Old Seal is a necessary step to replace rubber seal at back of toilet.
The first step in preparation for replacing the rubber seal is to shut off the water supply to the toilet flush and drain it completely by removing all water from the tank.
Once this has been done, you need to check that there are no seals or gaskets between the toilet base and bowl that need to be removed before continuing with replacing the rubber seal.
The second step when replacing the rubber seal on a toilet’s back involves using tools such as pliers or wrenches to loosen and remove any fittings connecting pipes or other components located near where you will be working.
This procedure should not be rushed, since it could result in damage if performed too quickly without proper care.
Carefully detach any parts connected around your work area prior to proceeding with replacement of the rubber seal.
Finally, use your hands (or gloves) to pry up and away from its seat any old remnants of gasket material remaining after removal of fixtures near your work space; discard these materials safely into an appropriate waste container.
After completing this task you can move forward with installing the new seal following steps outlined in subsequent section.

Installing The New Seal
Removing the old seal from your toilet can be a daunting task. It could take hours, days or even weeks to complete depending on how hard it’s stuck and what tools are available. But don’t worry! With these simple tips, you’ll have that pesky rubber seal removed in no time.
First things first: turn off the water at the main shutoff valve and flush the toilet to empty out any excess water inside of the tank.
Once this is done, unscrew the two nuts which connect the toilet bowl to its pan connectors and lift up gently until it is secured to the floor. Then locate where the wax ring was before – usually around the flange of your bathroom’s drain pipe – and remove it with a putty knife if necessary.
Now comes installation of your new seal! Before installing your new wax ring, make sure everything is dried properly by wiping off all surfaces with a dry cloth; then apply some caulk around areas that are leaky for extra protection against future leaks.
Insert your new wax into place and press firmly onto both sides so that it is completely secure; when finished double-check that there isn’t an air gap between your toilet pan connectors and new wax ring before finally turning back on your water supply line.
If everything looks good, check one last time that water doesn’t overflow through any gaps once you fill up the tank – voila! You have successfully replaced that old rubber seal without breaking a sweat.