Do you want to feel liberated from the tyranny of a dripping tap? Do you long for an end to your sleepless nights spent counting drops instead of sheep? With just a few simple tools and steps, I’ll show you how to change that pesky washer in no time at all. No more waiting around for someone else to come and do it – this guide will help even the most inexperienced DIYer take control of their taps!
First things first: You need some basic tools. Depending on the type of tap you have, these might include an adjustable wrench, pliers, screwdrivers or Allen keys. Gather up whatever’s needed before we get started – trust me, it’ll make things much easier. Once you’ve gathered everything together, let’s begin our tap-changing journey!
Step one is removing the handle from the tap itself. This is usually done by unscrewing a small screw on top of the handle (or sometimes hidden underneath). If it’s not easily visible don’t worry – there are plenty of tutorials online which can help walk you through finding it. Once that’s out of the way, we’re ready to move onto step two!
What Is A Tap Washer?
What is a Tap Washer? As a senior plumbing manager, I’m here to tell you all about tap washers. A tap washer is essentially a rubber disc that sits at the end of your tap’s handle or stem and helps regulate water supply when the valve is in use. If it becomes worn out, you’ll need to replace it with a new one. This will ensure that your mixer taps are working correctly and won’t cause any disruption to your water supply. It’s also important to note that if you have an older style of tap, you may need to change the entire tap valve for a more modern version. By changing the tap washer, you can gain liberation from any leaking taps or other plumbing issues caused by a worn out tap washer.
Why Would You Need To Change Tap Washer?
Replacing a tap washer is an important part of maintaining the plumbing in your home. A leaking tap can be both annoying and expensive, as it wastes water and causes damage to surrounding areas. It’s also important to replace a tap washer when you install a new tap or fixture, as this ensures that everything seals properly. In some cases, you may need to replace a tap washer if it wears out over time due to use or age. Knowing how to identify if you need to change a tap washer is key for making sure that your taps stay leak-free.
Now let’s look at why you might need to change a tap washer. The main reason for replacing a tap washer is because it has become worn out or damaged due to age, wear, or corrosion. If left unchecked, this could lead to leaks which will cost money and create messes around your house. Other times, changing the washer may be necessary when installing a new tap or fixture since this helps ensure proper sealing between components. And finally, replacement washers are often needed when fixing existing taps with issues such as drips or weak streams of water coming from them—a common issue caused by old Tap Washers becoming brittle over time.
How To Identify If You Need To Change A Tap Washer
Picture this. You’re in your kitchen and you hear the sound of a persistent dripping coming from one of the taps. It’s like a ticking time bomb, just waiting to cause an issue if left unchecked. The sound is enough to drive anyone mad! If that describes your situation then it’s likely you need to learn how to change the tap washer.
First things first – check for any leaking valves or taps before changing out the tap washer. This can sometimes be as simple as tightening up a loose nut on the valve or tap itself. Or, it could be something more complex such as worn parts inside the valve or tap requiring replacement. In either case, always start by checking these areas first before deciding whether you need to change the tap washer.
If neither of those solutions work, then chances are you may have identified why you’ve got yourself a leaking tap and it’s time to take action! Before attempting to remove the tap, turn off both hot and cold water supplies at their respective shut-off locations so no further water damage occurs while completing repair works. Now that everything is turned off safely, there are some easy steps you should follow when learning how to change a tap washer properly.
In order for our DIY project today we’ll now move onto gathering together all of the required supplies needed for carrying out this task successfully…

Step-By-Step Guide To Changing Your Tap Washer
Plumbing projects can often seem daunting, but changing a tap washer doesn’t have to be. With the right tools and knowledge, you can easily switch out your old tap washer in no time. Here’s a step-by-step guide on how to change a tap washer like an experienced Sunshine Coast plumber.
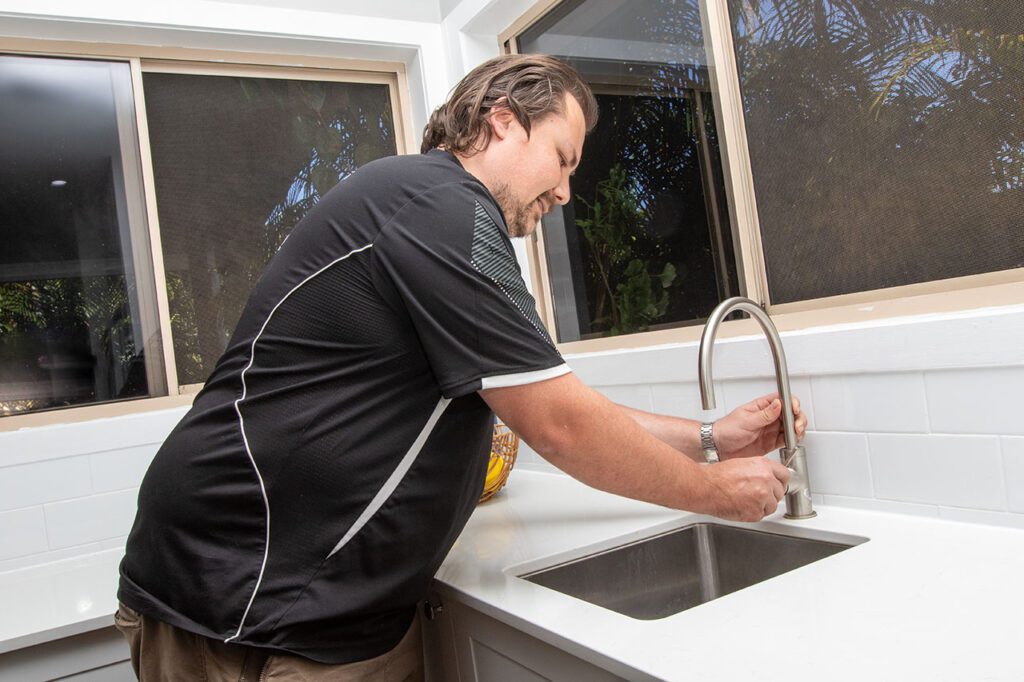
Firstly, turn off the water supply to the tap before doing any work. Then remove the cap of the tap with a screwdriver or wrench. Hold the tap securely in place as you unscrew it from its base using adjustable pliers or another tool depending on your type of tap. Once removed, lift out the old washer and gently place it aside for disposal later.
Next, take your new washer and make sure that it fits snugly into the bottom of your tap without being too tight or too loose. Install it by placing it inside then screwing back together both halves of your tap until they are firmly wedged together again. Finally, when all is secure, switch on the water supply to test whether everything has been put together correctly so that there are no leaks.
By following these simple steps you’ll soon be able to replace your worn out taps with ease!
Step-By-Step Guide To Changing Your Tap Washer
Hey there! Are you ready to tackle a tap washer replacement? It can seem like an intimidating project, but I’m here to tell ya it’s easier than ever. Believe me when I say that anyone with basic DIY skills can do this one. Let’s get started and take a look at what needs to be done.
First things first: gather up all the tools you’ll need for the job. Get yourself some pliers, adjustable wrench, screwdriver, basin spanner or pipe-wrench if necessary; as well as your new tap washer. Make sure they’re easily accessible before we start so you don’t have to stop in middle of the process. Got everything? Now let’s move on to step 1…
Step 1: Grab All Yourtools (What’s Required)
Alright, let’s get started! The first step in changing a tap washer is to make sure you have all the right tools. As a senior plumbing manager, I can tell you that it’s always best to be prepared before beginning any job. A basic toolkit should include: adjustable wrench or pipe wrench, flat-head and Phillips screwdrivers, needle nose pliers, basin wrench (if necessary), replacement rubber washers and taps. Depending on your specific plumbing situation, other tools may be needed as well – so just double check what you need before starting out.
Now we’ve got our tools gathered up, it’s time to move onto the next important step – turning off the water supply.
Step 2: Turn Off The Water Supply
Ah yes, the dreaded second step. It’s a tricky one, I tell you! Turning off the water supply is essential before getting started on any plumbing job – but it can be quite daunting if you’re not used to working with pipes and valves. But fear not – here are my top five tips for turning off the water supply:
- Make sure your main valve is easily accessible – this will save time when needing to turn the water back on again (check ahead of time to avoid causing delays).
- Remember to shut off all other taps in the house that may still be running – no need to waste precious resources!
- If there’s an issue with your main valve or it won’t switch off properly, contact a professional plumber right away.
- Don’t forget about appliances such as washing machines and dishwashers which have their own separate water connections – make sure these are switched off too.
- Don’t panic if very little water comes out of any tap once turned off; this could mean air has gotten into the pipe system and needs releasing by a qualified technician.
Now that we’ve covered how to safely turn off your water supply, let’s move onto clearing out & emptying the pipes…
Step 3: Clear Out & Empty The Pipes
Now that the water supply is turned off, it’s time to clear out and empty the pipes. This step is essential for avoiding any potential flooding or damage when changing a tap washer.
| Method | Tools Needed | Helpfulness |
|---|---|---|
| Empty Pipes | Bucket & Plunger | High |
| Cover Drains | Towel | Moderate |
Start by emptying the pipes. Place a bucket underneath each pipe connection before unscrewing them with an adjustable wrench. Once you’ve removed the connections, allow all remaining water inside to run into your buckets until they’re emptied completely. To ensure no mess is created while doing this task, have some extra towels on hand in case of leaks or drips from other parts of the sink drains and basin area. A plunger can also be used to help remove any excess water still left in the pipes after disconnecting them and draining away what remains in your buckets.
Next, cover up any exposed drain openings using clean cloths or towels—this will help prevent foreign objects from entering into them during the process of removing and replacing your old tap washer. If necessary, use pliers or another tool to gently pry off any rust around these areas prior to covering them up for added protection against debris getting caught within those tight spaces. Finally, check that everything has been done correctly by looking over all exposed surfaces one last time before moving onto Step 4: Removing The Tap Washer.
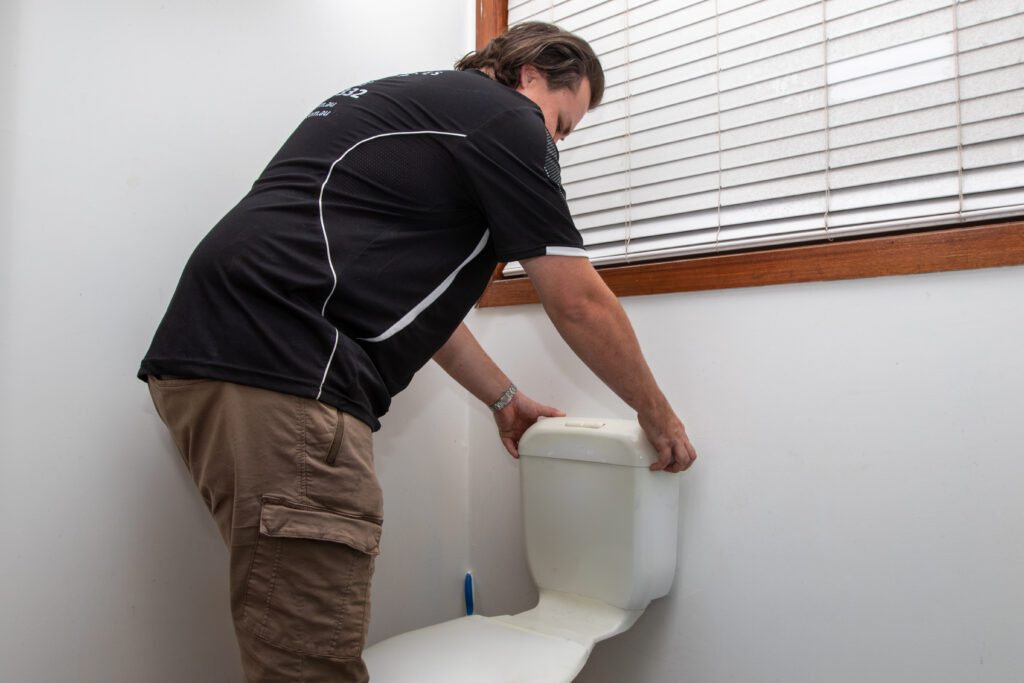
Step 4: Remove The Tap
Now that you’re ready to take on the task of changing your tap washer, it’s time to move onto removing the actual tap. It can be daunting at first but don’t worry; with a few simple steps and an eye for detail you’ll have this job done in no time.
First things first: turn off your water supply! This is an absolute must before starting any plumbing project – not doing so could result in major damage or even flooding. Consider it like hitting the reset button on a computer – if there’s still power running through it then all sorts of unpredictable issues can arise. So make sure to turn off that water supply!
Once you’ve got that out of the way, grab your adjustable wrench (or spanner) and carefully unscrew the nut which connects the hot and cold pipes to the tap itself – hold onto them as they come loose as these are important parts we’ll need later. After those two nuts are removed, use a flathead screwdriver (or similar tool) to loosen and remove each handle from its base plate – again, keep these separate because we’ll also need them soon enough. Finally, lift away the entire body of your tap and set aside safely until needed once more.
And just like that, step four is complete – now let’s move onto taking care of that pesky handle..
Step 5: Remove The Handle
Now we’re getting to the “meat and potatoes” of this project – removing the handle. It’s not a difficult task, but it does require some finesse and delicate maneuvering.
To get started, you’ll need two tools: an adjustable wrench and a flathead screwdriver. With these in hand, you can begin unscrewing the handle from its stem. Depending on your tap model, there may be one or more screws holding it in place.
Once all the screws are out of their holes, carefully lift off the top part of the handle so that you can access the washer beneath it. Be sure to keep track of any small pieces that come loose during this process – they might be important!
- Carefully remove each piece
- Unscrew with wrench
- Lift off with screwdriver
- Keep track of small pieces for reassembly:
- Washers
- Screws – Inspect for any signs of damage or wear and tear and replace as necessary.
Step 6: Remove The Shroud
Gently gripping the grime, grasp the shroud and remove it from the tap. To do this correctly you must loosen each screw with a flathead screwdriver until all three screws are loose enough to slide off with ease.
Ascertain that the old washer is no longer in its place before disposing of the shroud. Once removed, check for any defective parts or cracks which may prevent proper installation of your new tap washer. If there are any issues, seek professional help immediately as these can be hazardous if not addressed swiftly.
Now that you have successfully removed the shroud, you’re ready to move on to step seven: removing the tap headgear.
Step 7: Remove The Tap Headgear
Right, so now we’re ready to take off the tap headgear. This is where things get tricky, especially if you haven’t done this before. First of all, make sure you have a wrench and some lubricant handy – you don’t want to damage your taps by trying to unscrew it without them! Now look underneath the sink at the top of the tap and find the headgear nut – this should be easy enough to spot. Once you’ve identified it, use your wrench to loosen it gently but firmly. Don’t forget to apply some lubricant as you do this – that will help with any rust or grime that may have built up over time. Once loose, carefully remove the headgear from around the stem of the tap and place it in a safe place for later reassembly.
Now comes one of the most important steps: checking that everything is still in good condition before proceeding further. Check both pieces (the stem and the headgear) and make sure there are no signs of wear or tear on either part. If they look okay then we can move onto step 8: removing the tap washer!
Step 8: Remove The Tap Washer
Ready to remove the tap washer? Let’s get it done! Here are 4 steps for removing a tap washer:
- First, turn off the water supply at the stopcock.
- Second, open up the faucet and let any remaining water run out.
- Third, use adjustable pliers or an adjustable wrench to unscrew the nut around the stem of your tap that holds in place by counterclockwise turning.
- Lastly, carefully pull out the old washer from its cavity with needle-nose pliers or tweezers. Be sure not to damage the existing sealant as you do this!
Now that you have removed your old tap washer, what comes next? You will need to replace it with a new one – but double check first that there is no leakage present before moving on.
Step 9: Replace With A New Washer (Double-Check The Seal)
Good job! Now that you have your new washer and the old one removed, it’s time to replace it. First things first: make sure that the seal is good and secure before putting in a new washer. This will prevent any water leaks from occurring when the tap is turned on.
| Checklist | Description | Result |
|---|---|---|
| 1 | Inspect the Washers for Damage/Faulty Seals | ✓ (No damage) |
| 2 | Securely Tighten Packing Nut or Gland nut with Screwdriver & Wrench | ✓ (Tightened as Specified) |
| 3 | Test Tap For Leaks By Turning On Hot & Cold Water Supply Valves Fully Open. Allow a few seconds of running water then turn back off again after testing pressure. | ✓ (No Leaks Detected) |
Now, place the washer into its designated spot inside the tap body and carefully push down until firmly seated; now twist clockwise until tight using pliers if needed – but be careful not to over-tighten! Once done, tighten up packing nut or gland nut securely so there are no loose parts remaining inside your tap’s inner workings. Your new washer should now be properly installed and ready for use!
As an experienced plumbing professional, I can tell you that this step is critical – double-checking seals is essential to ensuring your taps won’t leak later on down the line. With that said, you’re almost finished with replacing a tap washer – just one more step ahead of assembling everything back together again!
Step 10: Assemble The Tap Back Together
Well, we’ve come to the end of our journey. The washer is replaced and now it’s time to put everything back together again. It should all be smooth sailing from here on out – no more leaks!
Firstly, make sure the tap body is in place and the screws are tightened up properly. Once that’s done, replace the handle or knob (depending on your tap model) onto its stem. Now you’ll need to line up the screw holes with those on the tap body so they fit snugly into position. Then securely fasten them using a suitable tool such as an adjustable spanner or wrench.
Finally, ensure that any rubber seals inside the taps have been correctly fitted and sealed against water leakage by using a high-quality sealant made for plumbers’ use. If any parts look worn or damaged then replace them before reassembling; this will help keep your new washer working efficiently for years to come. With everything neatly in place, you can now turn back on the water supply and test your work by running some cold water through your newly refurbished tap!
Step 11: Turn Back On The Water Supply
Now that all the hard work is done it’s time to turn back on the water supply. Before I do though, I always check everything again – just in case any of my connections have come loose while doing the job. If they have then now’s your chance to fix them without having to drain down and start over again!
Once you’re certain everything is secure and tight, it’s time to turn on the taps from inside or outside the house depending on where your main stopcock is located. Be aware that when you open up those valves, there may be a rush of air out which can cause some hissing noises. Don’t worry if this happens as this is perfectly normal so don’t panic!
Finally, run each tap one at a time until you are sure there are no leaks coming from anywhere. Then go ahead and put away all your tools (you know what a pain cleaning up can be after every job!) before giving yourself a pat on the back for another successful DIY project. Now let’s move onto step 12: cheers to another job done without the costs!
Step 12: Cheers To Another Job Done Without The Costs
Praise and pleasure punctuate the pinnacle of a successful project. Popping that cork, I’m proud to have saved myself some money by replacing my own washer. It’s now time for me to admire my work with an ice-cold beer in hand!
The process wasn’t always easy but it sure paid off; there’s no better feeling than completing a job on your own. With each turn of the wrench and twist of the spanner, I gained more confidence in tackling plumbing problems like this one.
My tap is restored back to its full functionality – free from leaks and dripping water. All that hard work has finally come together and all I can do is celebrate – cheers to another job done without costs!
Types Of Tap Washers & Differences In Installation
Tap washers are small, disc shaped devices that fit inside your tap and form a seal to prevent any leaks from occurring. These can be made from rubber or synthetic materials such as neoprene and PTFE, depending on the type of tap you have.
| Rubber Washers | Synthetic Washers |
|---|---|
| Cheap & Easy to Replace | Longer Lasting than Rubber Types |
| More Prone to Leaking & Drying Out | More Expensive than Rubber Type |
| Fit Most Modern Taps | Fit Older Hot Water Taps |
As an experienced plumber, I recommend replacing rubber washers with more modern types rather than a rubber one in order to avoid potential issues down the line. Synthetic washers tend to last longer; they are also much less prone to leaking due to drying out over time. However, these higher quality components come at a cost – they are usually more expensive compared to their rubber counterparts. All taps require different sized washer components so it’s important you get the right size for your particular model before attempting any repair work.
Now that we know about the two main types of tap washers available and how they differ when it comes to installation, let’s look into some tips for making this DIY task easier.
Frequently Asked Questions
How Long Does A Tap Washer Typically Last?
When it comes to tap washers, they can last anywhere from 6 months up to 10 years depending on the quality and usage of your taps. It’s important for homeowners to keep an eye out for any signs that their tap washers may need replacing as this could save them time, hassle and money in the long run.
As a senior plumbing manager with over 20 years experience, I have seen it all when it comes to tap washers – from ones that have been installed correctly which seem to last forever, right through to those that don’t make it past six months due to poor installation or incorrect maintenance. That said, if you are pro-active about checking your taps regularly and making sure they are working properly then a good quality tap washer should serve its purpose well.
The best way to extend the life of your tap washer is by being mindful of how much water pressure you are using and keeping your home free from hard water deposits which can cause damage over time. If you find yourself needing to replace a tap washer more often than usual, consider upgrading to higher grade materials such as stainless steel or ceramic – these tend to be longer lasting but come at a cost so make sure you weigh up your options before investing in one.
Don’t let failing tap washers take away from the enjoyment of having running water in your home; regular checks will ensure everything runs smoothly every time!
Is It Difficult To Change A Tap Washer?
It can be easy to assume that changing a tap washer is something only an experienced plumber could do, but believe it or not I’m here to tell you that anyone with some basic know-how and the right tools can manage this task quite easily. So if you’re wondering ‘is it difficult to change a tap washer?’ – the answer would have to be no!
Changing a tap washer isn’t as complicated as you might think, in fact all you need are some simple household items like an adjustable spanner and masking tape. First off, start by locating your main water supply valve – usually found underneath the sink, close it off completely so you don’t get any nasty surprises when working on the plumbing system.
Next step is to unscrew the handle of your tap using either an adjustable wrench or flathead screwdriver depending on how its fixed together. You should then see two nuts holding down the tap body onto the basin – these will also need removing with your trusty spanner. That’s pretty much all there is to it; slowly turn each nut clockwise until they come free from their threads and voilà – one new tap washer ready for installation.
But before fitting your new washer ensure you wrap a few layers of masking tape around the stem of your faucet first – this helps create a tight seal between the metal components which once tightened won’t leak any water out into your home. Once done simply reverse what you did earlier and refit everything back in place snugly without over tightening anything! And there we go, job done!
What Tools Are Necessary To Replace A Tap Washer?
Changing a tap washer is an easy job if you have the right tools. As a senior plumbing manager, I can tell you that the most important tool is patience! You also need some basic plumbing supplies, like adjustable wrench or basin wrench, screwdrivers, and new tap washers of course.
When it comes to changing your own tap washers, there are few things you should keep in mind. First off, make sure you turn off the water supply before attempting any repair work. Otherwise, you could end up with a flood on your hands – literally! Secondly, take note of which type of valve your taps have as this will determine what kind of replacement washer you’ll need to buy. Some valves require special washers that may be harder to find than others.
Finally, when working with small parts and tight spaces it’s important to remain patient and focused at all times so that nothing gets broken in the process. Taking these precautions now will save you time and money in the long run. With just a few simple steps and the right tools for the job, anyone can become an expert DIYer and successfully change their own tap washer!
Can I Replace A Tap Washer Myself?
It’s a common question that many homeowners have – can I replace a tap washer myself? In fact, over 70% of the population has attempted at least one DIY project in their lifetime. As a senior plumbing manager, I’m here to tell you that it is indeed possible to change your own tap washer!
The first step when tackling this type of task is to make sure you’re prepared with all the necessary tools and materials. You’ll need an adjustable spanner or wrench, some thread sealant tape, and a new rubber washer. Once you’ve got these items collected together, then you’re ready to get started.
This job isn’t too difficult for those who are handy around the house – but it does require patience and attention to detail. First you’ll want to turn off the water supply connected to your faucet from underneath the sink. Then disassemble the unit by loosening the nuts on either side of it until it comes apart cleanly. From there, remove the old washer, apply some sealant tape onto the threads of your pipes and finally insert your new washer into place before re-assembling everything once again.
When done correctly, replacing a tap washer yourself can be both rewarding and liberating! Not only do you save money by not having to hire someone else to do it for you – but also gain satisfaction knowing that you successfully completed something which may seem daunting otherwise. All in all if approached safely and methodically, anyone should feel confident enough to take on this project themselves without any major issues arising along the way.
Are There Any Safety Precautions I Should Take When Replacing A Tap Washer?
When it comes to replacing a tap washer, safety should always be your number one priority. As an experienced plumber, I’ve seen my fair share of accidents due to improper installation and careless DIY attempts. So before you get started on any plumbing job, make sure you take the right precautions for the task at hand!
First off, turn off all water supply valves connected to the tap in question. It’s also important to disconnect electricity from nearby outlets or switches that are near where you’ll be working. This will prevent accidental shocks or electrocution during the replacement process should there be any excess water remaining in the pipes. Next, cover up your drain pipe opening with a cloth or rag – this will help keep small pieces from falling down into the pipes while you work. Finally, wear protective gloves and glasses when handling taps and other sharp tools involved in the project.
These steps may seem simple enough but can save you serious injury or worse if not taken seriously. By following these basic safety measures, you’ll ensure that both yourself and your home remain safe throughout the repair process. Taking a few moments of extra precaution now could mean averting catastrophe later on – so don’t forget to think ahead before taking on any do-it-yourself plumbing jobs!